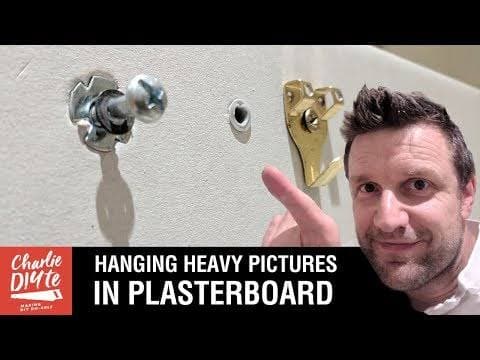
Honestly, the safest way to hang a heavy picture is to attach it to a wall stud or use heavy-duty wall anchors that are designed to support the picture's weight. Simply hammering a nail into the wall may not be enough, especially for large or heavy frames.
Many people underestimate how important the right hardware is until the picture falls off the wall.
What You'll Need
Before you start, gather these items:
-
Measuring tape.
-
Pencil.
-
Spirit level.
-
Drill or screwdriver.
-
Heavy-duty screws or picture hooks.
-
Wall anchors (if there's no wall stud).
-
Stud finder (optional but helpful).
Using the right tools makes the job much easier and safer.
Step-by-Step Process
Here's the easiest way to hang a heavy picture:
-
Decide where you want to place the picture.
-
Use a stud finder to locate a wall stud if possible.
-
Mark the position with a pencil.
-
Drill a pilot hole if needed.
-
Install a heavy-duty screw or wall anchor.
-
Hang the picture carefully.
-
Use a spirit level to make sure it's straight.
If your picture is particularly heavy, consider using two hooks instead of one to distribute the weight more evenly.
I still remember trying to hang a heavy picture frame in my room by myself. I thought it would be an easy five-minute job, but no matter how many times I tried, I just couldn't get it right. The frame either looked crooked or didn't feel secure at all. In the end, I had to call my papa, and within a few minutes he found the right spot, used the proper tools, and hung it perfectly. That's when I realized that hanging a heavy picture isn't just about putting a nail in the wall; using the right technique and hardware makes all the difference.
Safety Tips
I have noticed that many people only think about where the picture will look good, but they forget to check whether the wall can actually support its weight.
Always:
-
Check the picture's weight.
-
Use the correct wall anchors.
-
Avoid hanging heavy frames with ordinary nails alone.
-
Make sure everything is tightly secured before letting go.
A few extra minutes spent choosing the right screws or wall anchors can prevent your picture from falling later. And if you're unsure, there's absolutely nothing wrong with asking someone experienced for help; I definitely did!
Must Read: How to clean your white shoes?